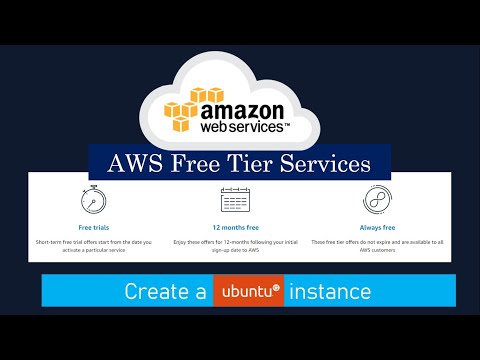
Similar to Google Cloud Platform, AWS also widely used in Cloud Computing.
To Learn More about Google Cloud Platform:
Hello my readers I welcome you all, In this blog you are going to know how to get a VPS for a complete 1 year.
What is AWS?
Amazon Web Services (AWS) is a subsidiary of Amazon providing on-demand cloud computing platforms and APIs to individuals, companies, and governments, on a metered pay-as-you-go basis.
Signing up Process
1. Sign Up for AWS
- Visit the below webpage or search AWS on Google.
- Select “Create a new AWS account” and complete the form in five easy steps.
.png)
2. Add Billing Information:
- To get a free account, add your billing information.
.png)
- If you don't have a Visa debit card, you can create a virtual card online using various applications.
.png)
3. Verify Identity:
- Confirm your identity using your mobile number.
.png)
4. Select Free Support:
- Choose free support services and complete your sign-up process.
.png)
- This may take up to 24 hours.
.png)
Creating a Free Tier Virtual Instance on AWS
1. Sign In:
- Once your account is ready, sign in to the AWS console.
.png)
2. Launch a Virtual Machine:
- On the AWS console, click “Launch a Virtual Machine”.
.png)
- Select an Amazon Machine Image (AMI). For a free AMI, check the "free tier" option on the left side.
.png)
- Choose "Ubuntu server" from the list. Select "micro" as the instance type, which is available for the free tier.
.png)
3. Choose an Instance Type
- Click "Next", and after selecting "Ubuntu Server", you'll need to choose an instance type that is available under the Free Tier.
.png)
4. Configure Instance Details:
- Review the instance details and proceed if there are no issues.
.png)
8. Add Storage:
- Add storage size up to 30 GB, which is free under the free tier.
.png)
9. Add Tags:
- Optionally, add tags to your instance.
.png)
10. Configure Security Group:
- Configure the security group, which is crucial for connecting to your instance.
- Add your IP address or select the "My IP" option. Alternatively, choose a custom IP address.
.png)
11. Review and Launch:
- Review all settings and click “Launch”.
.png)
- Select "Create a new key pair".
.png)
- Key Pair name it, and download it.
.png)
- Once downloaded, you will look at the Key pair file.
.png)
12. Instance Creation:
- Click on "View Instance".
.png)
- View the status of your instance once created.
.png)
13. Connect Using SSH:
- Download and install PuTTY, an SSH client tool, from its official page.
- Convert the downloaded PEM file to a PPK file using PuTTYgen.
.png)
- Load your key in PuTTYgen and generate a private key file.
.png)
- Open PuTTY and enter your hostname (retrieved from the instance connection details in AWS).
.png) |
| instance connection details in AWS |
.png) |
| Paste the Hostname |
- Upload your authentication key in PuTTY.
.png)
- Save the session and click "Open" to connect to your server.
.png)
14. Successful Connection:
- Once connected, you have successfully set up and configured Ubuntu on AWS.
.png)
15. Additional Resources:
- For a GUI version setup, refer to a Google Cloud Platform video.
I hope this guide helps you set up and configure Ubuntu on AWS!