Practical Steganography CTF Series — Foundational Theory & Lab Setup
Learn core steganographic mechanisms, configure your Linux environment with munpack, exiftool, and openssl, then solve live challenges.
Steganography is the art and practice of concealing a secret message, file, or image within another ordinary, non-secret file or physical medium.
The term originates from the Greek words steganos (meaning covered or concealed) and graphein (meaning writing) — literally translating to "covered writing".

While physical steganography has been documented for millennia — from microdots and invisible inks to shaved heads tattooed with messages under regrown hair — modern cybersecurity focuses primarily on digital steganography.

In the digital domain, information can be concealed within:
- Image Files (JPEG, PNG, BMP, GIF): Hiding bits within Least Significant Bits (LSB), appended EOF overlays, or Exchangeable Image File Format (EXIF) comment headers.
- Audio Tracks (WAV, MP3, FLAC): Encoding binary streams inside high-frequency spectrums, LSB modifications, or phase coding.
- Video & Containers (MP4, MKV): Utilizing unused padding in macroblocks or extra container streams.
- Network Protocols & Headers: Exploiting TCP sequence numbers, IP identification fields, or ICMP payload padding (network tunneling steganography).

Steganography vs. Cryptography
Security practitioners frequently encounter confusion between steganography and cryptography.

While both are pillars of information security, they address fundamentally different defensive objectives:
| Dimension | Steganography | Cryptography |
|---|---|---|
| Primary Objective | Conceal the very existence of the communication. | Conceal the content / meaning of the message. |
| Visibility to Eavesdropper | The communication looks entirely harmless, innocent, and ordinary. | The ciphertext is visibly scrambled and draws immediate attention. |
| Failure Mode | If an observer detects that data is hidden, the steganographic barrier is broken. | The observer knows data exists, but cannot decode it without the cryptographic key. |
| Combined Approach (Defense-in-Depth) | Best Practice: Encrypt the confidential payload first using strong ciphers (e.g., AES-256), then conceal the resulting ciphertext inside a carrier file using steganography. | |

Setting Up the Practice Lab Environment
To follow this investigation hands-on, prepare a dedicated working directory in your Linux terminal (such as Kali Linux, Parrot Security, or Ubuntu). Maintaining isolated directories prevents accidental file contamination and preserves evidence integrity:
Create a dedicated directory for steganography investigations and navigate inside the workspace.
Clone the official CTF challenge repository.
Change the directory to the downloaded repository directory and also list the repository contents.
Within the repository structure, you will find two primary operational trees:
participant/: Houses the scenario descriptions, initial challenge files, and hints intended for participants.facilitator/: Contains the solution writeups, author verification scripts, and raw flags designed for challenge administrators.
As responsible security investigators, we always enter the participant/ directory to approach each challenge blind:
Here we find four distinct challenge tiers:
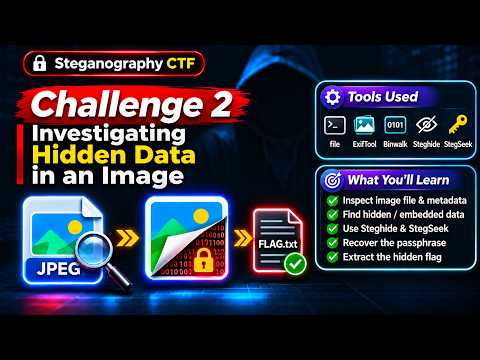
01-steganography-lvl-1: EXIF metadata extraction, MIME attachment triage, and OpenSSL decryption.02-steganography-lvl-2: Password-protected carrier steganography (Steghide / Outguess).03-steganography-lvl-3: Multi-layer file carving, nested compression, and file signature repair.04-steganography-lvl-4: Low-level x86-64 page-table architecture forensics.
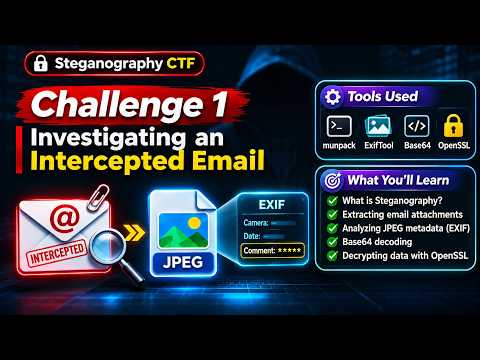
Ready to Investigate? Challenge 1 – Investigating an Intercepted Email
Now that your lab environment is configured with the required tools, apply your forensic analysis skills to investigate an intercepted .eml container and carve the hidden OpenSSL payload.